How to Start Container Gardening (From Someone Who Killed the First One)
- Beginner friendly
- Small spaces
- Balcony & patio
- All zones
My first container garden was a cherry tomato in a pot I found behind the garage. No drainage hole. Garden soil from the yard. Full shade for half the day. It produced exactly one tomato before it died.
The second attempt went better because I finally stopped guessing and looked up what actually matters. Turns out container gardening has about four things you need to get right, and everything else is flexible. Once I understood those four things, plants started living instead of dying.
This is the guide I wish I’d found before killing that first tomato. No fluff, no product lists, just the steps that actually work.
The Short Version
- You need: sunlight (6+ hours for vegetables), drainage holes, potting mix (never garden soil), and a container big enough for the plant’s roots
- Best beginner plants: herbs, lettuce, radishes, cherry tomatoes
- The #1 killer of container plants is wrong soil, not wrong watering
- Containers need fertilizer every 2 weeks because nutrients wash out with every watering
- Start with one pot, one herb, and one week of keeping it alive. Then scale up.
Figure Out Your Light First
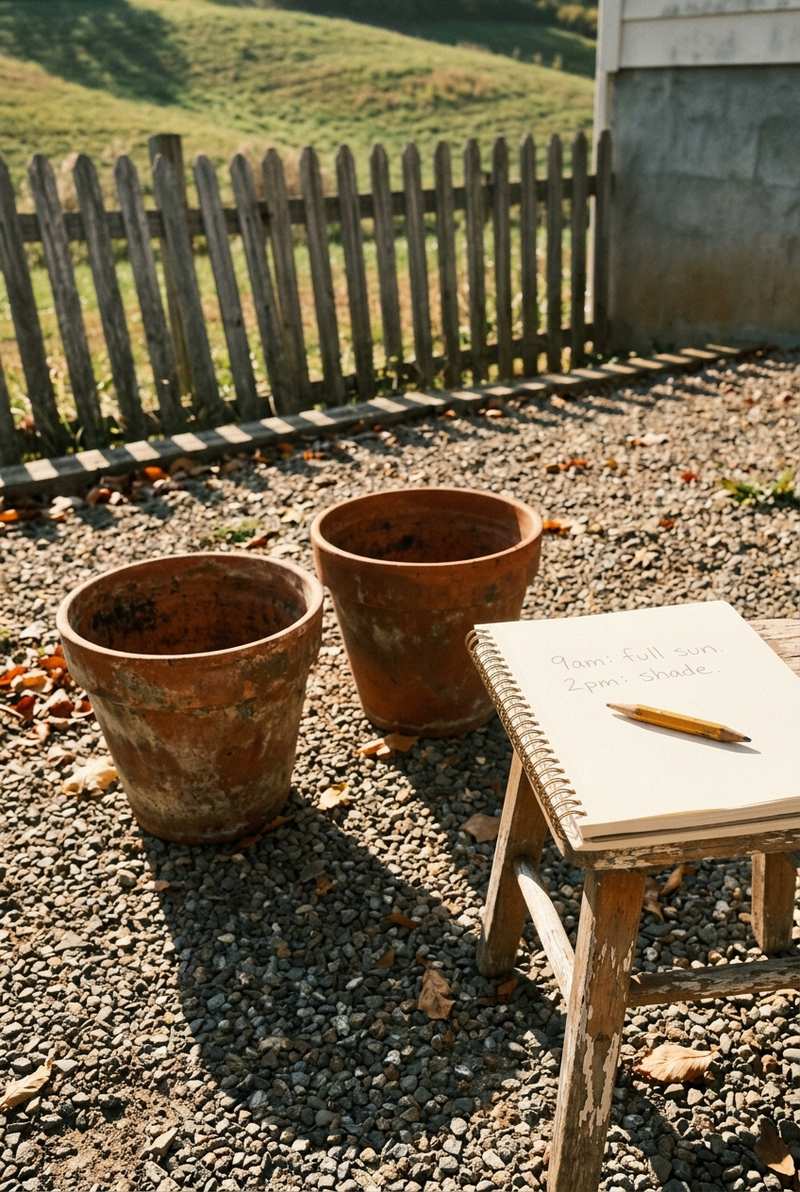
Before buying a single pot, count your sun hours. Go outside and check how many hours of direct sunlight your spot gets. Not dappled shade through a tree. Not reflected light off a wall. Direct, full sun hitting the surface where the pot will sit.
6+ hours of direct sun: you can grow almost anything. Tomatoes, peppers, herbs, flowers.
4-6 hours: herbs, lettuce, spinach, kale, and most leafy greens do well. Fruiting vegetables will struggle.
Under 4 hours: limited to shade-tolerant greens and some herbs (mint, parsley, chives). Skip tomatoes and peppers entirely.
I wasted a whole summer trying to grow tomatoes on a patio that got maybe 4 hours of real sun. They grew tall and leggy and produced almost nothing. Do the light audit first. It takes one day and saves a season of frustration.
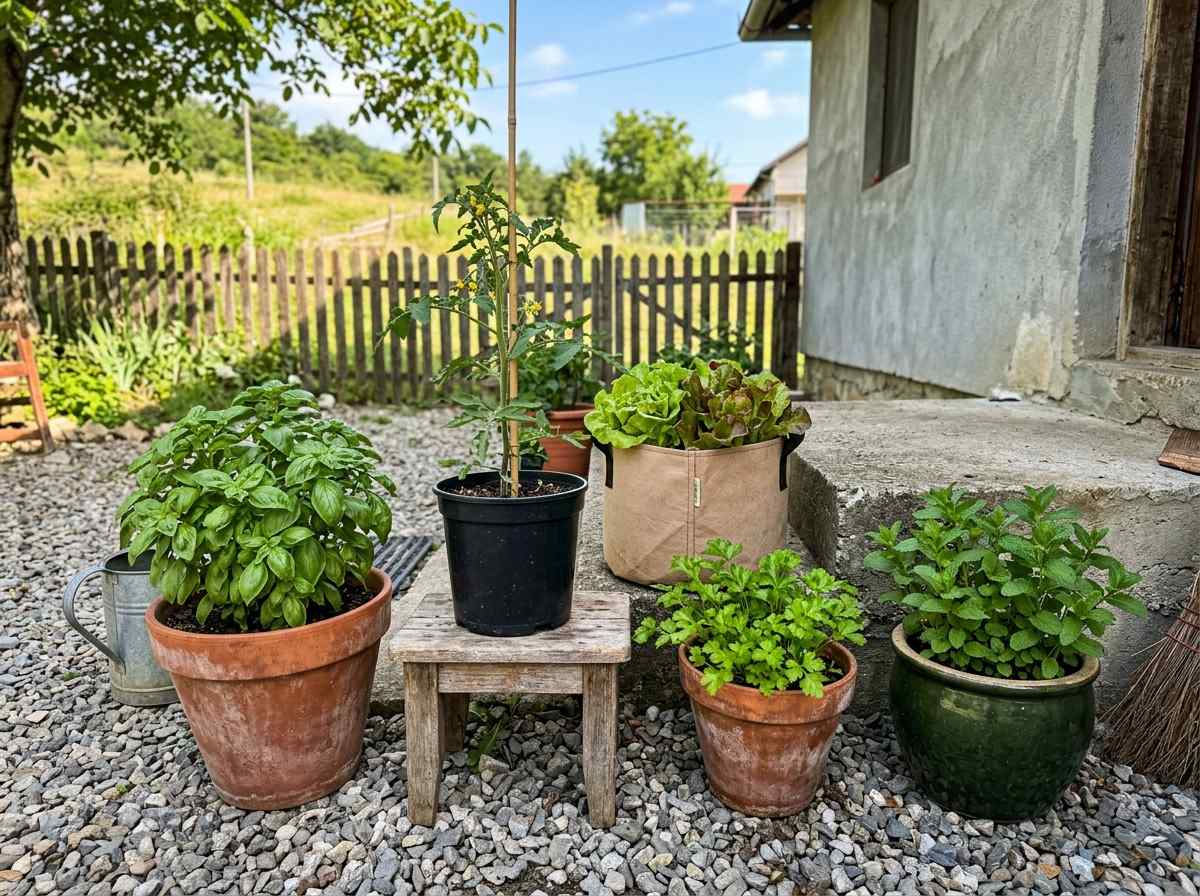
Pick the Right Container (Size Matters More Than Material)
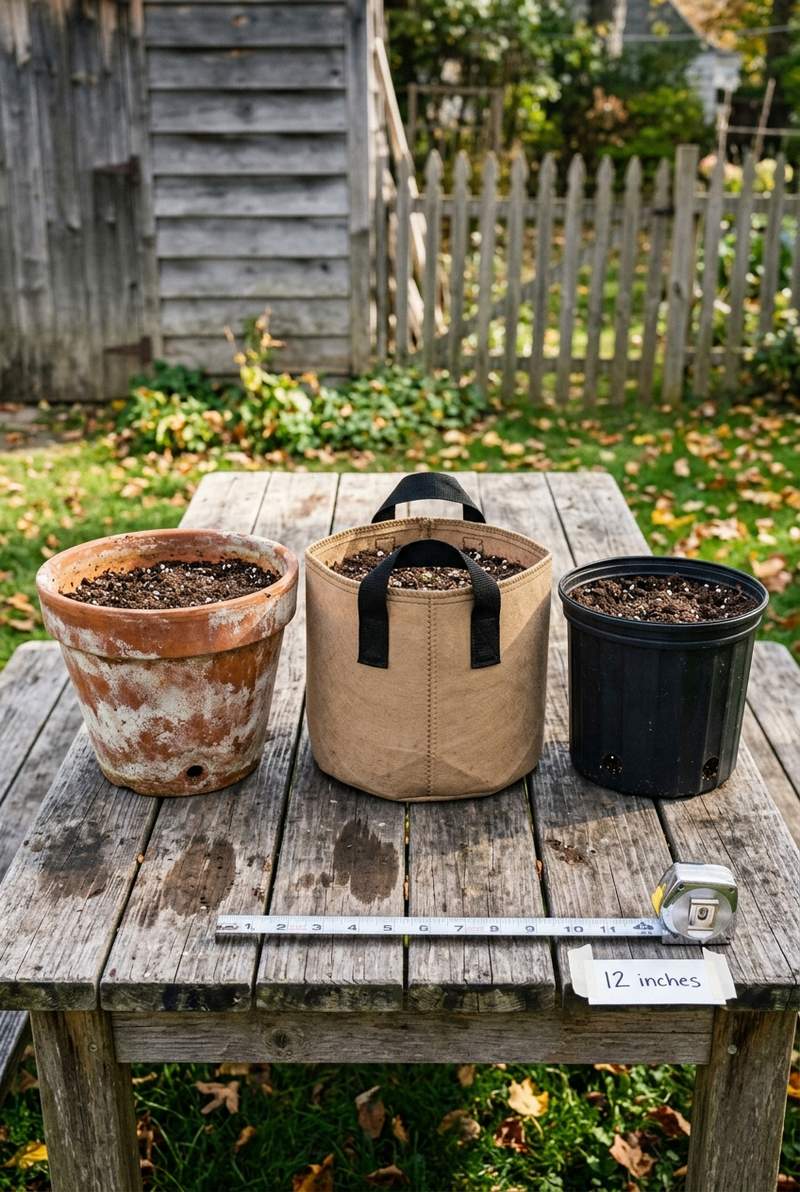
The container material debate (plastic vs. terracotta vs. fabric) matters less than people think. What matters is size and drainage.
| Plant | Minimum Container Size | Minimum Depth |
|---|---|---|
| Herbs (basil, thyme, chives) | 6 inches (15 cm) diameter | 6 inches (15 cm) |
| Lettuce, spinach | 2 quart / 8 inches (20 cm) | 6-8 inches (15-20 cm) |
| Peppers | 2 gallon / 10 inches (25 cm) | 12 inches (30 cm) |
| Cherry tomatoes | 5 gallon / 12 inches (30 cm) | 12-16 inches (30-40 cm) |
| Full-size tomatoes | 5 gallon+ | 16-24 inches (40-60 cm) |
| Carrots | 2 quart | 10 inches (25 cm) |
| Strawberries | 3 gallon | 8-12 inches (20-30 cm) |
Bigger is almost always better. A plant in a too-small container hits the walls, stops growing, and dries out in hours. If you’re unsure, go one size up from what seems right.
Non-negotiable: drainage holes
Every container needs holes in the bottom. No exceptions. Without drainage, water pools at the roots and they rot within days. If you find a beautiful pot with no holes, drill them yourself or use it as a decorative sleeve around an ugly plastic pot that does have holes.
Here’s a quick comparison of container materials if you’re choosing:
| Material | Pros | Cons |
|---|---|---|
| Plastic | Lightweight, cheap, retains moisture | Heats up in sun, can cook roots if dark-colored |
| Terracotta | Looks great, breathable for roots | Dries out fast, heavy, cracks in frost |
| Fabric grow bags | Air-prunes roots, prevents root-bound, cheap | Dries out very fast, needs daily watering in summer |
| Glazed ceramic | Holds moisture well, looks polished | Heavy, expensive, fewer drainage holes |
| 5-gallon buckets | Free from restaurants, great for vegetables | Ugly (but functional) |
My honest recommendation: start with cheap plastic pots or free 5-gallon food-grade buckets from a bakery or deli. Drill drainage holes. Spend money on good soil instead of pretty containers. You can upgrade later once you know what you’re growing long-term.
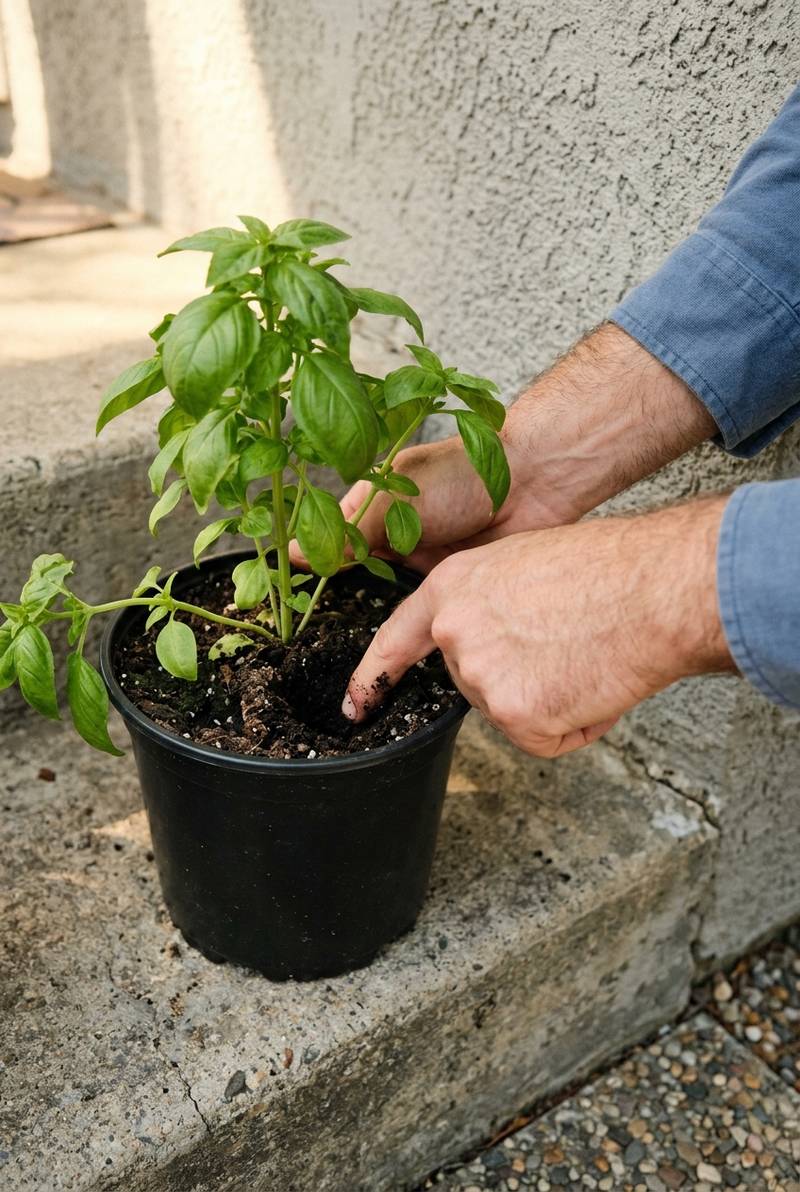
Use Potting Mix, Never Garden Soil
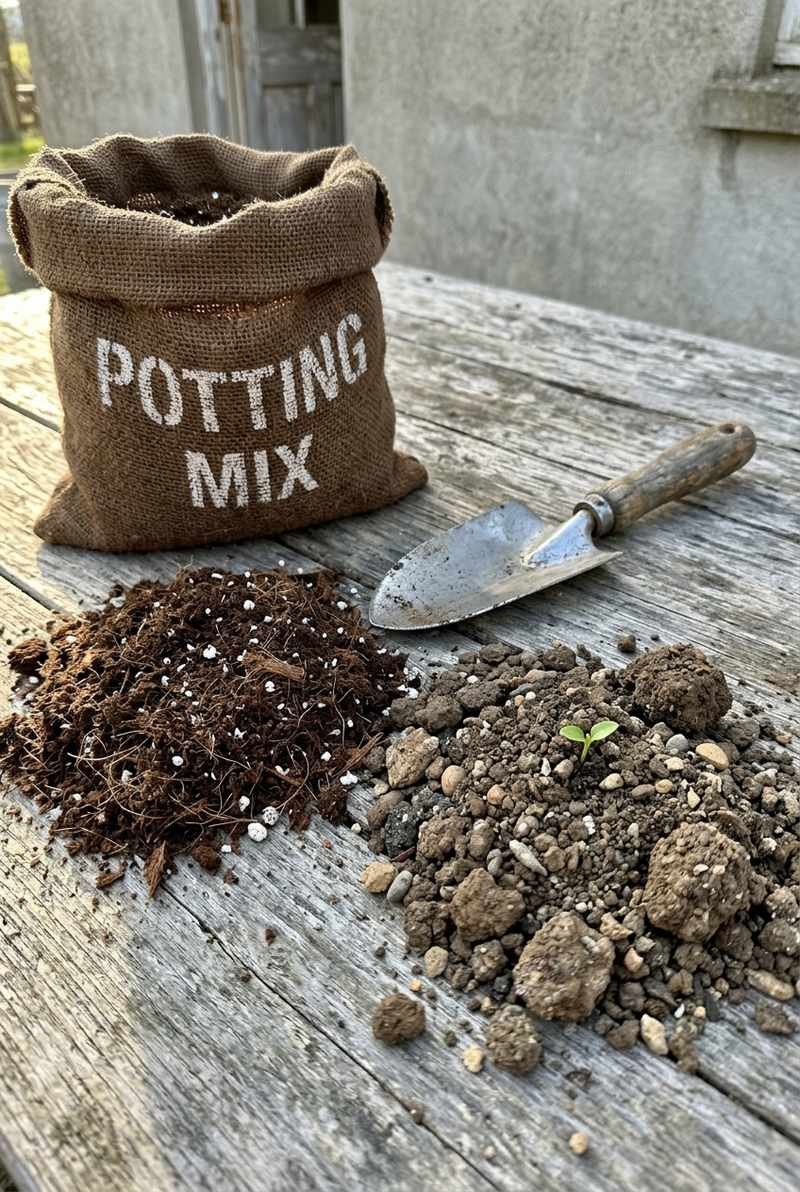
This is the single most important rule in container gardening. Garden soil compacts in pots, blocks drainage, and suffocates roots. It works fine in the ground where worms and microbes keep it loose. In a container, it turns to concrete.
Buy bagged potting mix. Any decent brand works. It’s lightweight, drains well, and holds moisture without waterlogging.
If you want to mix your own (cheaper for lots of pots), here’s what works:
- 60% potting mix or coco coir (the base)
- 30% perlite (the white bits that create air pockets and drainage)
- 10% compost (nutrients and microbial life)
That’s it. Don’t overthink it. The ratio doesn’t need to be exact. The point is: something light, something that drains, something that feeds.
The gravel myth
Putting gravel or rocks at the bottom of a pot does NOT improve drainage. It actually raises the saturated water zone higher in the pot, keeping roots wetter. University extension services have debunked this for years. Skip the gravel layer entirely. Just use good potting mix and proper drainage holes.
Start With These Plants (Hardest to Kill)
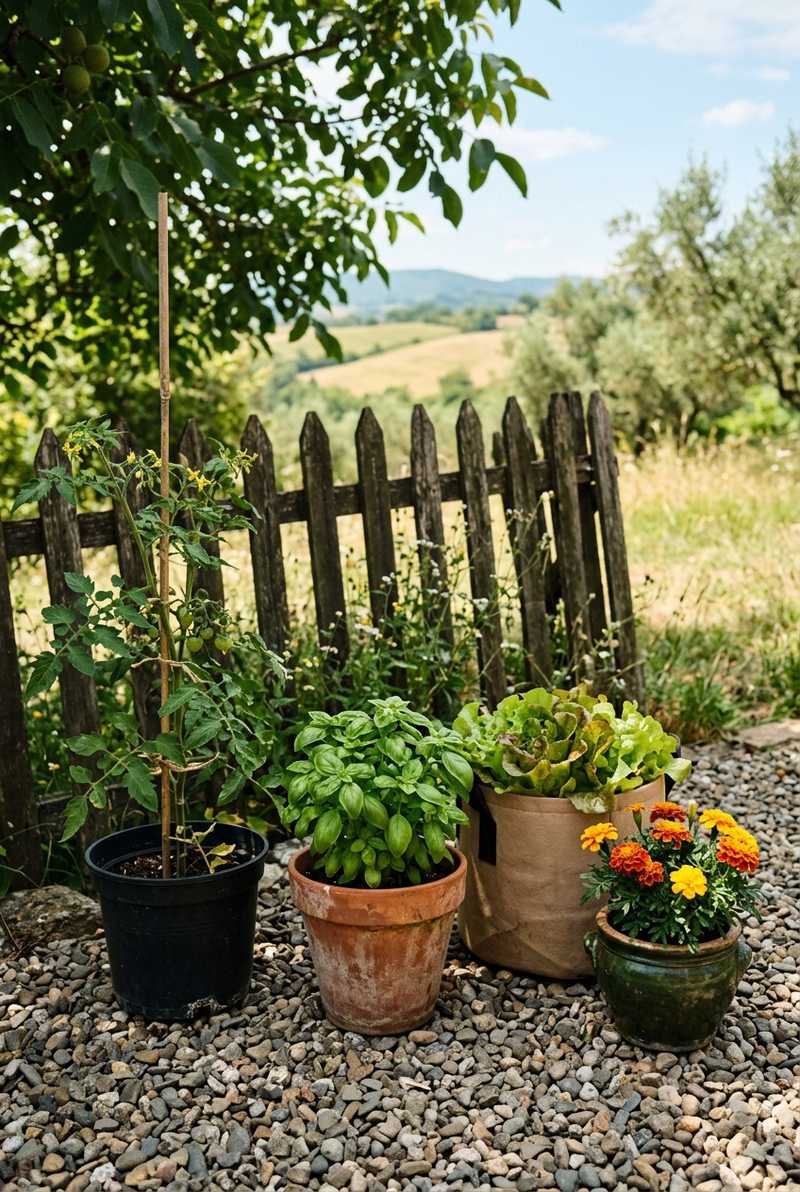
Don’t start with tomatoes. I know everyone wants tomatoes. But they need big pots, consistent watering, staking, pruning, and heavy feeding. They’re not hard, but they’re not beginner-friendly either.
Start with one of these instead:
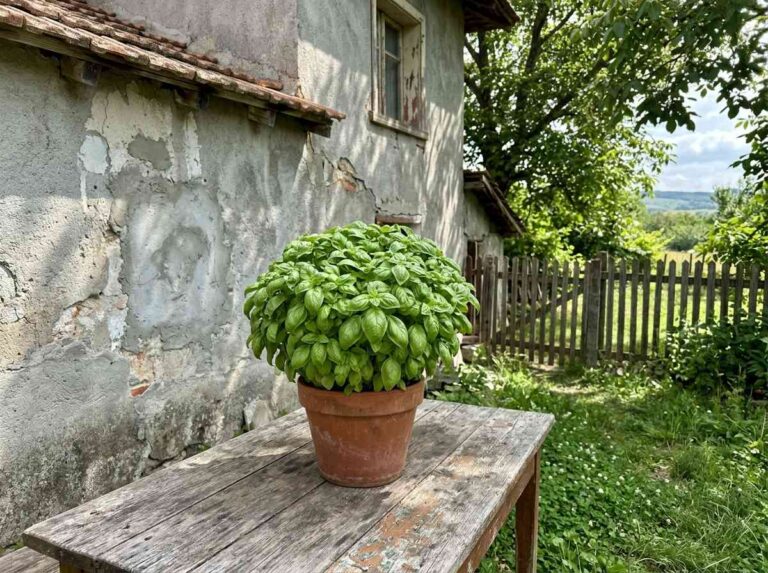
- Basil. Grows fast, smells great, tells you immediately when it’s thirsty (leaves droop visibly). A perfect feedback plant for learning to read your containers.
- Lettuce or mixed salad greens. Cut-and-come-again varieties regrow after harvest. Tolerates partial shade. Ready in 30-45 days.
- Radishes. Fastest win in gardening. Seed to harvest in 25-30 days. Any container deeper than 6 inches (15 cm) works. Builds confidence fast.
- Chives. Perennial, nearly impossible to kill, comes back year after year. Survives neglect.
- Mint. Grows aggressively in any condition. Keep it in its own pot or it’ll take over everything it touches.
Once you’ve kept herbs alive for a month, move to cherry tomatoes (compact varieties like ‘Patio’ or ‘Tumbling Tom’) and peppers. They’re the next step up, not the starting point.
Save this to PinterestWatering: The Part Everyone Gets Wrong
Container soil dries out faster than you’d expect. A 5-gallon pot in full summer sun can go from soaked to bone dry in 24 hours. The physics are simple: ground soil is insulated by the earth around it. A container is exposed on all sides to air, wind, and heat.
The finger test is the only method that works reliably. Stick your finger 1-2 inches (2-5 cm) into the soil. If it’s dry at that depth, water. If it’s still moist, wait. Don’t water on a schedule. Water based on what the soil tells you.
When you do water, water deeply. Keep going until it flows out the drainage holes at the bottom. That means the entire root zone got a drink, not just the top inch.
Three things that make watering easier:
- Mulch the top of the pot with 1 inch (2.5 cm) of shredded leaves or bark. Reduces evaporation significantly. Pull it back 1 inch from the stem to prevent rot.
- Group containers together. Pots clustered create a microclimate that holds humidity between them. Isolated pots dry faster.
- Avoid dark-colored pots in direct sun. Black plastic in summer gets hot enough to cook roots. Light colors or fabric bags handle heat better.
Pro tip
If you’re on a balcony, wind is your enemy. Higher floors mean more wind, which dries soil 30-50% faster than ground level. Check your pots daily in summer, even if you watered yesterday.
Feeding Your Containers (They Run Out Fast)
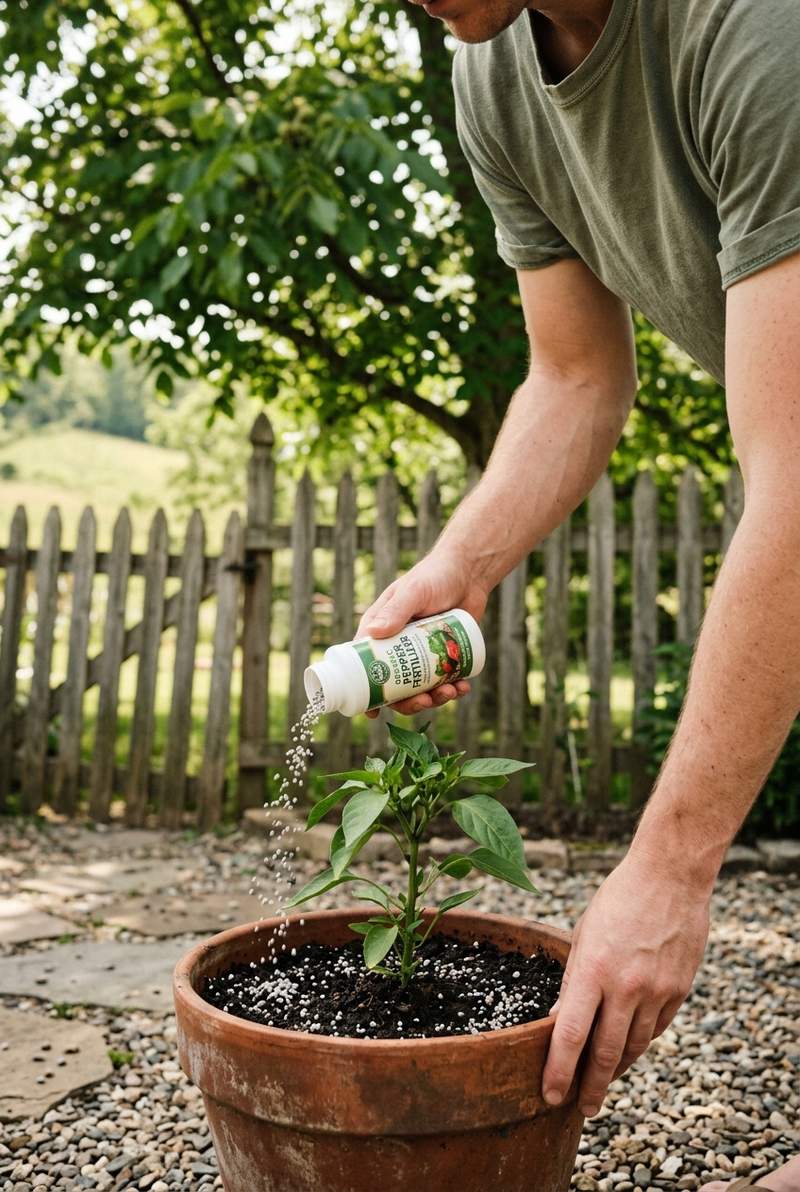
This is what caught me off guard the first year. In-ground plants pull nutrients from a deep, wide soil mass. Container plants have access only to what’s inside that pot. Every time you water, nutrients wash out through the drainage holes.
Feed container plants every 2 weeks with liquid fertilizer during the growing season. Any balanced liquid feed works. Half-strength weekly is even better if you want to keep it steady.
One warning: don’t fertilize dry soil. Water first, then feed. Fertilizer on dry roots causes burn. I learned this the hard way on a pepper plant that looked like someone torched it overnight.
The Five Mistakes That Kill Most First Containers
I’ve made all of these. Listing them here so you can skip the learning curve.
- Garden soil in pots. Compacts, waterlogging, root rot. Always potting mix. Always.
- No drainage holes. Roots drown in standing water. Even one missed drainage hole can kill a plant in a week of rain.
- Container too small. Roots hit the walls and growth stalls. When in doubt, size up.
- Forgetting to fertilize. Potting mix nutrients run out in 3-4 weeks. After that, the plant is starving unless you feed it.
- Sun-loving plants in shade. Tomatoes and peppers need 6-8 hours of direct sun. No amount of good soil compensates for insufficient light.
Fix these five things and you’ve eliminated 90% of container gardening failures. Everything else is fine-tuning.
Troubleshooting Quick Reference
| Symptom | Likely Cause | Fix |
|---|---|---|
| Yellowing lower leaves | Nitrogen deficiency (hungry plant) | Feed with liquid fertilizer |
| Wilting despite wet soil | Root rot from poor drainage | Check drainage holes, reduce watering, repot if severe |
| Wilting in afternoon, recovers by morning | Normal in hot weather for large plants | Water deeply in morning, mulch the surface |
| White crust on pot rim | Salt/mineral buildup from fertilizer and tap water | Flush with plain water for several minutes |
| Roots growing out of drainage holes | Root-bound, needs bigger pot | Repot into container 2 inches wider |
| Leggy, stretched growth | Not enough light | Move to sunnier spot or accept limited growth |
Budget Starting Kit (Under $30)
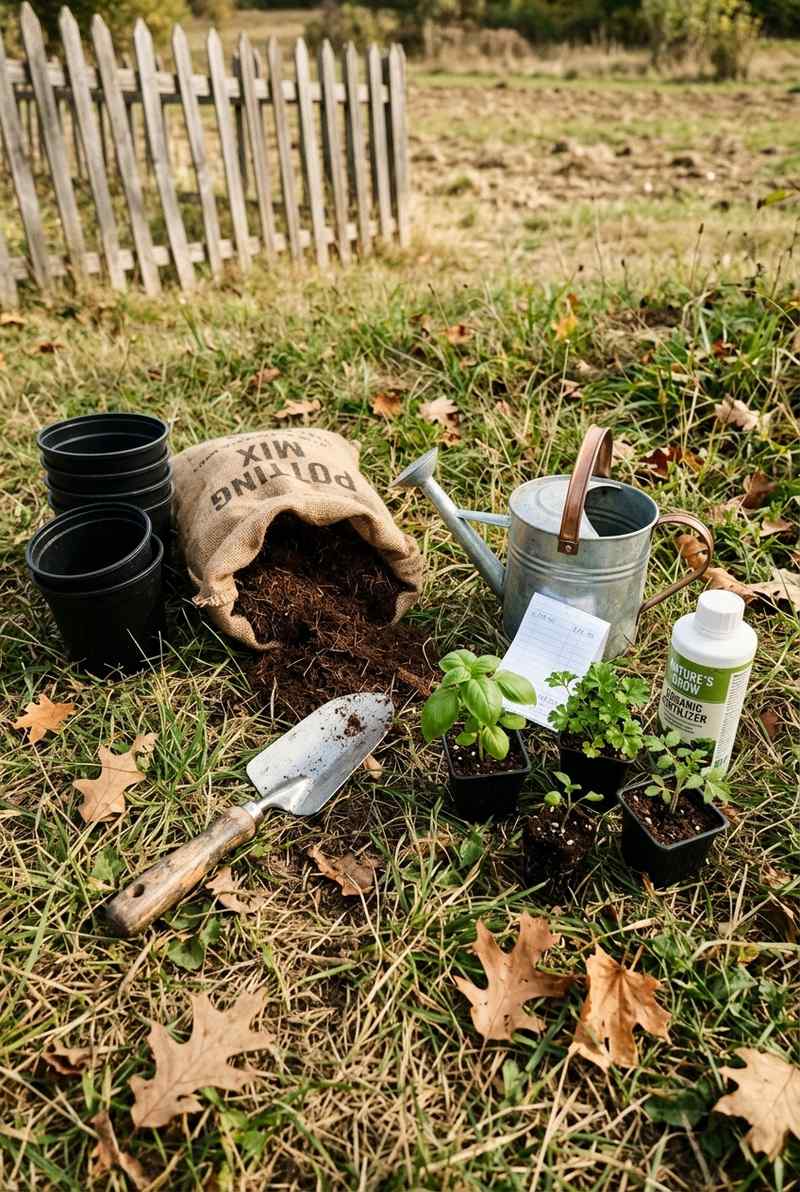
You don’t need to spend much to start. Here’s what a functional first container garden costs:
- Container: free 5-gallon bucket from a bakery (ask nicely) or $3-5 plastic pot from a hardware store
- Potting mix: $8-12 for a bag that fills 2-3 large pots
- Seeds: $2-4 per packet (one packet of basil = dozens of plants)
- Liquid fertilizer: $6-8 for a bottle that lasts months
Total: under $20 for a complete setup. Skip the fancy self-watering planters and ceramic pots until you know what you’re doing. Ugly pots grow plants just as well as pretty ones.
Free upgrades: collect rainwater in a bucket (no chlorine, plants prefer it), regrow green onions and lettuce from kitchen scraps before spending on seeds, and ask neighbors for extra perlite or potting mix at the end of their season.
When to Repot (And How to Tell)

Container plants don’t stay in one pot forever. Roots fill the available space and eventually need more room.
Signs it’s time to repot:
- Roots growing through drainage holes
- Soil drying out much faster than usual (root mass has displaced the soil)
- Growth has stalled despite regular feeding
- Plant wilts constantly even with consistent watering
When repotting, go 1-2 inches wider for small pots (under 8 inches) and 2-3 inches wider for larger ones. Don’t jump a plant from a 6-inch pot to a 16-inch pot. Too much wet soil around small roots promotes rot.
Replace potting mix entirely every 1-2 seasons. Old mix compacts, loses drainage, and accumulates salts from months of fertilizing. Fresh mix gives roots a reset.
Common Questions
Can I grow vegetables in containers on a balcony?
Yes. Herbs, lettuce, radishes, peppers, cherry tomatoes, and strawberries all do well on balconies with 6+ hours of sun. Check your balcony’s weight rating first. A full 10-gallon pot weighs 40-60 pounds (18-27 kg). Several of those add up.
How often do I water container plants?
There’s no fixed schedule. Check daily by sticking a finger into the soil. In summer heat, large plants in small pots may need water twice a day. In cool weather, once or twice a week might be enough. Let the soil tell you.
Do fabric grow bags actually work?
They work well. Roots that reach the bag wall get “air-pruned,” which forces the plant to grow more lateral roots throughout the pot instead of circling. More roots means better nutrient uptake. The downside: they dry out fast. Plan for daily watering in summer.
Can I reuse potting mix from last year?
For one more season, usually fine. Break up compacted areas, mix in fresh compost and perlite to restore drainage, and add slow-release fertilizer. After two seasons, replace entirely. Old mix loses structure and accumulates problematic salt levels.
What about self-watering containers?
Good for tomatoes, peppers, and anything that likes consistent moisture. They have a water reservoir at the bottom that wicks up to roots as needed. They still need refilling. “Self-watering” means self-regulating, not maintenance-free. Worth it if you travel or forget to check daily.
One Pot Is All You Need to Start
I started with a single tomato in a terrible pot and learned more from that failure than from any article. The second attempt was a basil plant in a proper container with real potting mix and drainage. It lived all summer. That’s when I understood this actually works.
You don’t need ten pots, a fancy setup, or a plan for the whole season. You need one container, one bag of potting mix, and one packet of herb seeds. Get something growing. Watch it. Learn what it tells you about water and light. Then add another pot when you’re ready. That’s how every container garden starts.